Understanding the temporary structure behind a flat slab
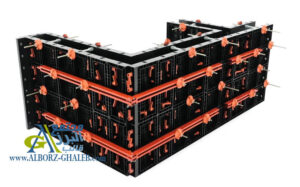
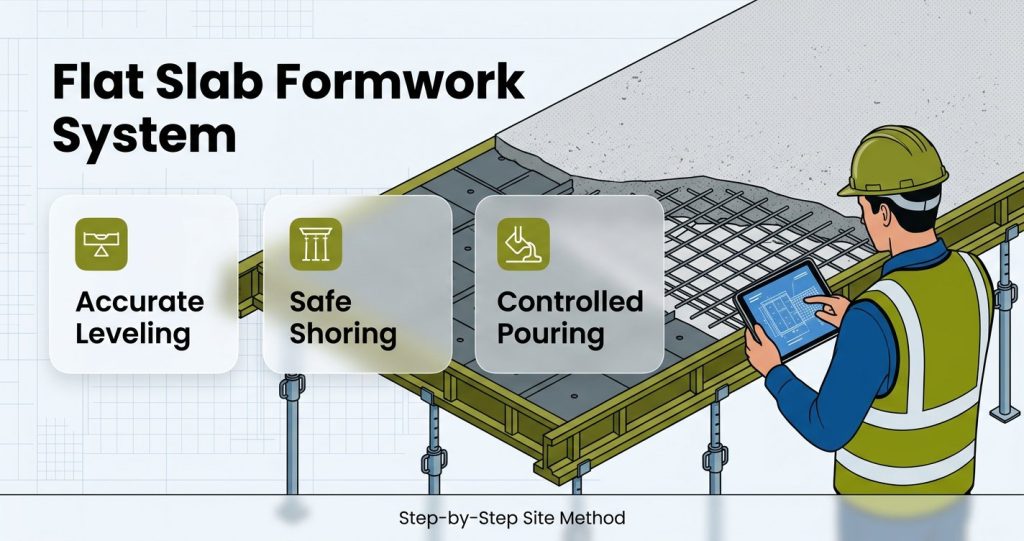
A flat slab formwork system includes the contact surface, primary and secondary beams, adjustable props, heads, bracing, edge shutters, and small accessories that keep the whole arrangement stable. Each element has a job, and the system works only when the load path remains continuous from wet concrete down to the supporting floor.
For a 200 mm concrete slab, fresh concrete alone may weigh around 480 kg per square meter. Add reinforcement, workers, tools, formwork self-weight, and vibration effects, and the temporary load can reasonably move toward 600–750 kg per square meter. That is why prop spacing must never be guessed by habit.
When the slab is high, heavy, or irregular, the contractor should evaluate system scaffolding rather than relying on isolated props. A braced modular support tower can reduce sway, improve access, and provide a safer load-bearing arrangement.
Panels and concrete finish
The form face determines the slab soffit. Bent panels, swollen plywood, damaged edges, dirty surfaces, and excessive release oil all appear later as blemishes. If the ceiling remains exposed or receives thin finishing, these defects become immediately visible.
Steel panels offer high reuse potential, while plywood may be flexible for irregular zones. Polymer systems reduce handling weight. The right choice depends on repetition, moisture, required surface quality, labor skill, and the planned cycle time.
Props, heads, and vertical load transfer
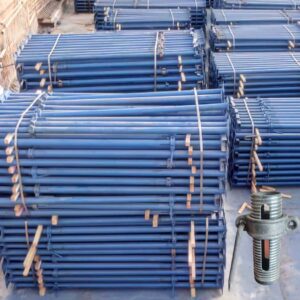
Props are not just vertical tubes; they are compression members that must stand on sound bases, remain plumb, and connect correctly to heads or beams. A prop sitting on loose debris or soft ground can settle during pouring and create permanent deflection in the slab.
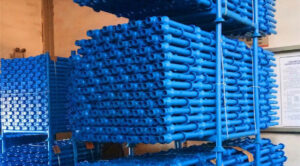
For ordinary building slabs, properly selected prop jacks for construction improve height adjustment and reduce unsafe improvisation. Damaged threads, missing pins, and unverified capacity should be rejected before installation.
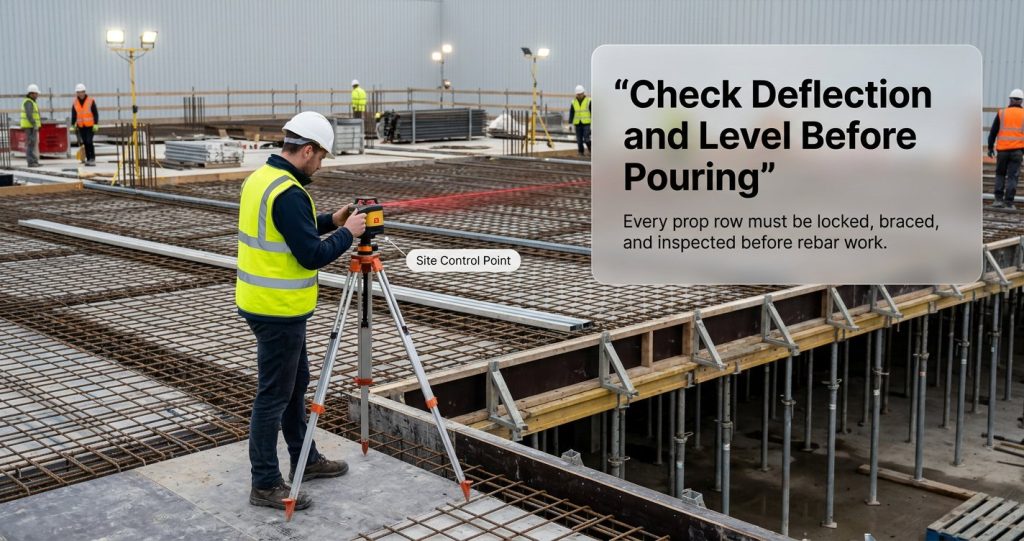
Drawing review, grid lines, and level control
The work should start with drawings, not with panels. Structural drawings, architectural openings, MEP sleeves, drop zones, slab edges, column strips, and punching reinforcement details must be checked together before the first prop is installed.
A benchmark level should be transferred to columns or walls using a laser level or survey instrument. The formwork crew then adjusts props to that reference. If every bay is leveled by eye, the final soffit will not behave like one continuous plane.
A practical site routine is to check corner points, mid-span points, and column zones before reinforcement begins. A small correction of 3–5 mm is easy before rebar; after rebar, chairs, sleeves, and inspection tags are installed, the same correction becomes slow and expensive.
Openings and edge shutters
Shafts, ducts, stair openings, and sleeves must be marked on the form face with dimensions taken from coordinated drawings. A shifted opening may later require cutting reinforced concrete, exposing bars, delaying MEP trades, and weakening a carefully detailed zone.
Edge shutters need lateral support. Fresh concrete pressure and vibration can push an under-braced edge outward, leaving an uneven façade line or unwanted slab thickening. Good carpenters check edges twice: once before rebar and once just before pouring.
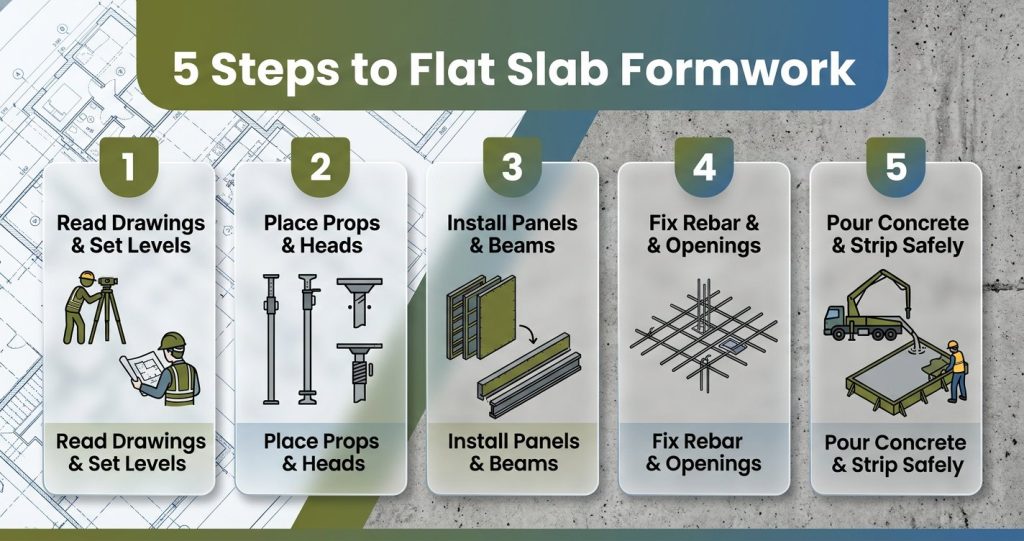
Step-by-step installation of props, beams, and deck panels
The usual sequence is simple: mark the grid, place props on stable sole plates, install primary beams, add secondary beams, place deck panels, close gaps, and complete edge formwork. The quality, however, depends on discipline. Skipping sequence makes alignment and load checking difficult.
Prop spacing depends on slab thickness, beam spacing, support height, formwork type, and allowable prop load. For common building slabs, spacing around 0.8–1.2 m may be seen, but the final arrangement must follow calculation, manufacturer recommendations, and site-specific safety requirements.
Tall props need bracing. During concrete vibration and worker movement, unbraced long props can sway or buckle. This risk grows in high floors, ramps, podium slabs, and areas where concrete is temporarily accumulated.
Primary and secondary beams
Primary beams collect loads from secondary beams and transfer them to props. Secondary beams reduce the free span of the form face. If a secondary beam is missing or too widely spaced, the deck can sag and the slab thickness can change during casting.
The site supervisor should inspect beam seating, alignment, bearing length, and loose members. A component that looks installed but does not bear properly is more dangerous than a missing component because it creates false confidence.

 for Concrete Formwork 3")


? | Complete Execution Guide 7")

Your opinion matters to us
Share your experience and thoughts with us and other users
No comments yet. Be the first!